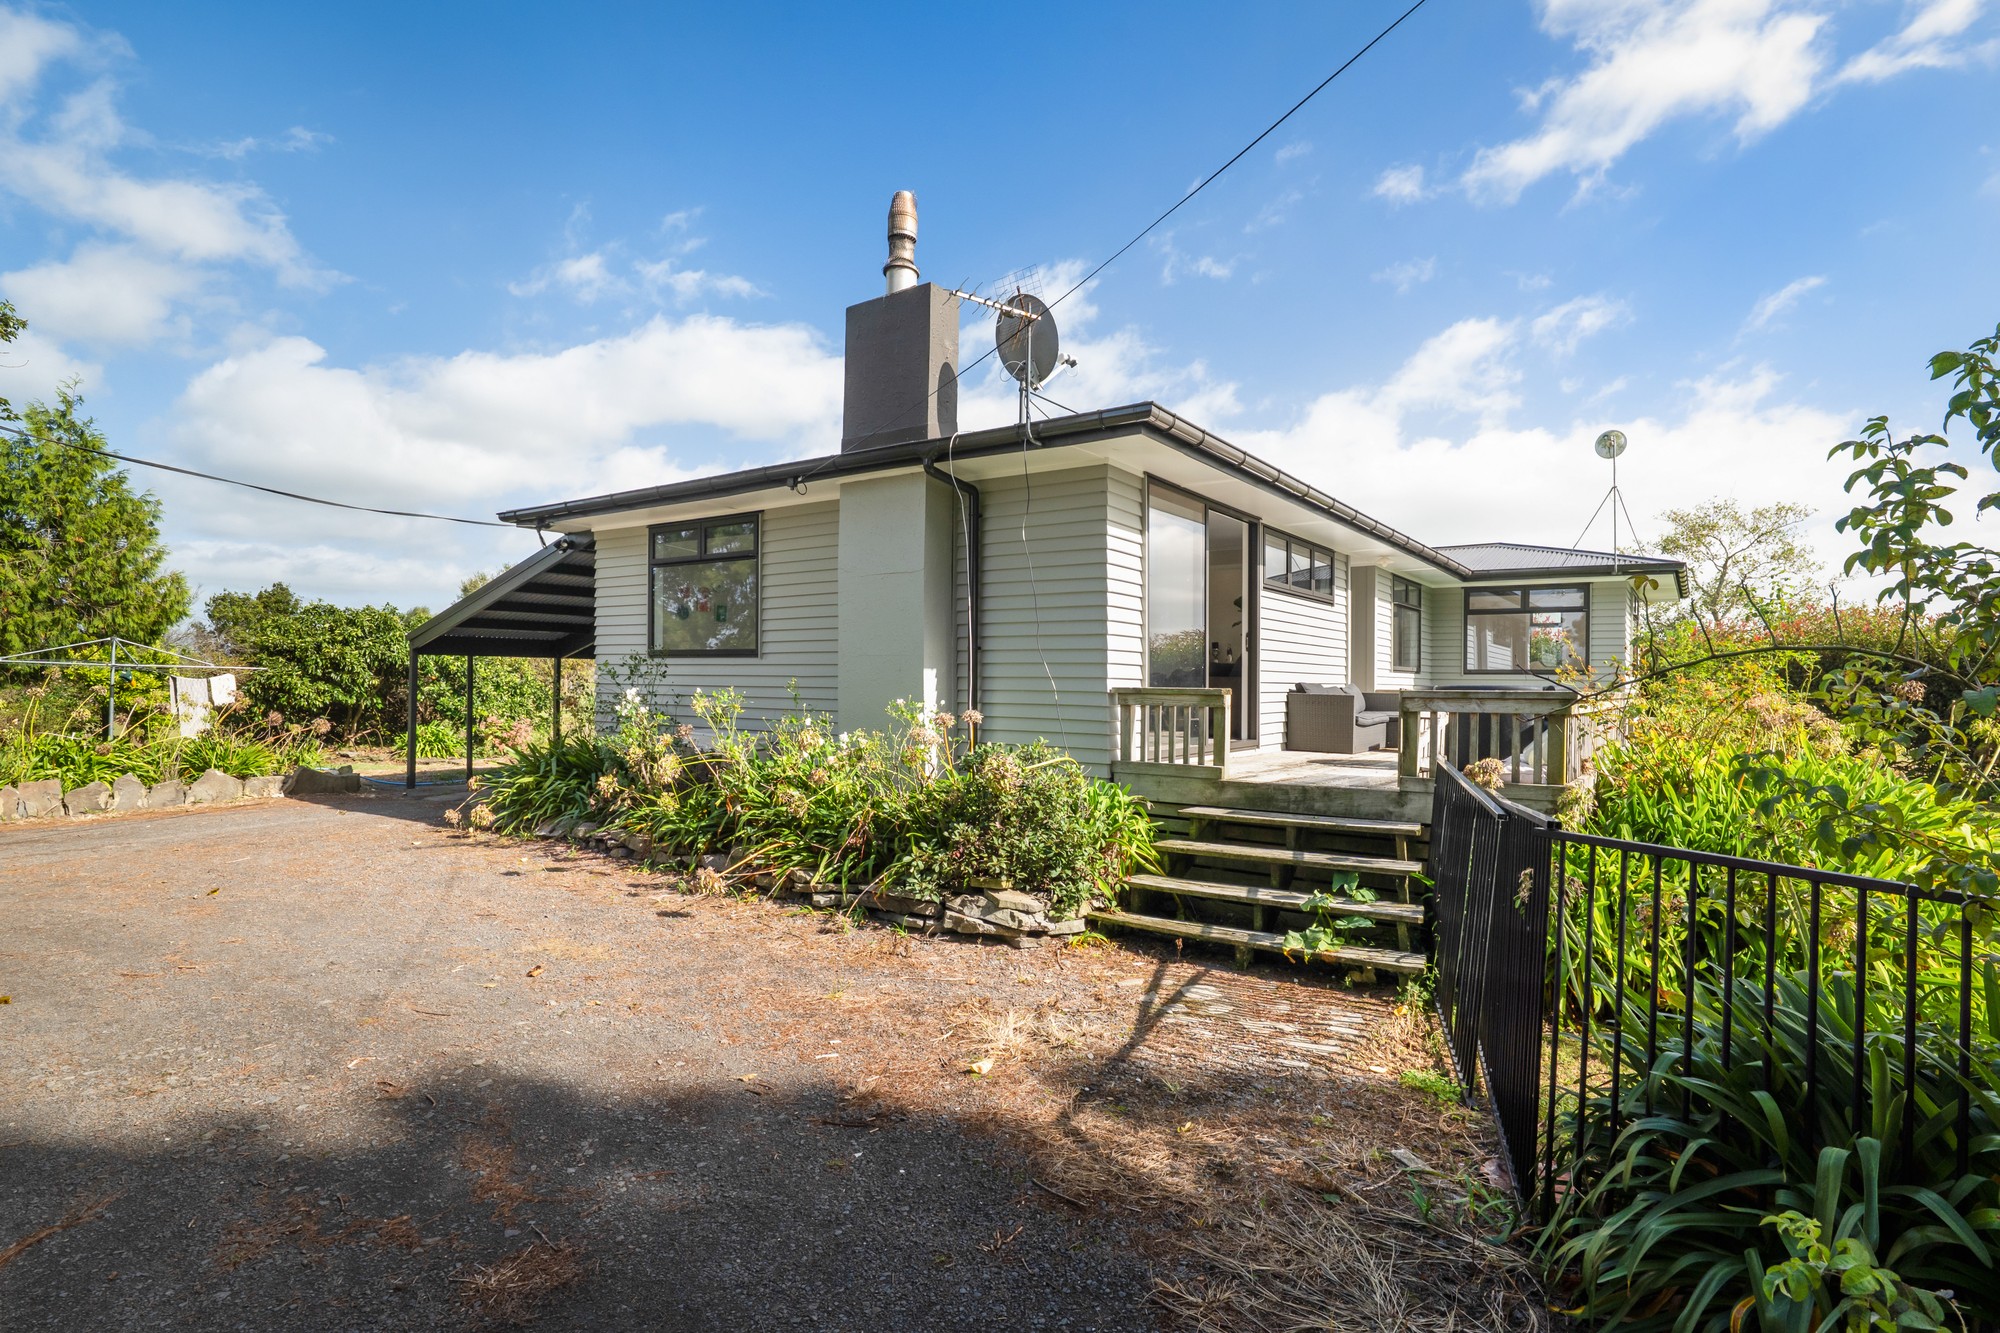
Why HDR Matters in Real Estate
Every listing photo tells a story. The problem is, cameras can't see what your eyes see — not in a single frame. Walk into a living room with floor-to-ceiling windows and your eyes adjust instantly. The sky outside is blue, the shadows under the kitchen bench have detail, and the pendant light has a warm glow. A camera picks one: blow out the windows, or lose the interior to darkness.
That's where HDR bracket photography comes in. You take 3–7 exposures of the same scene at different brightness levels, then merge them into one image that captures the full range. It's not about making photos look "HDR" — that over-processed, glowy look from 2012. It's about making photos look like the room actually looks.
The Bracket Setup
How Many Exposures?
For most interior real estate shots, 5 brackets at 1-stop intervals is the sweet spot:
- -2 EV — Window detail, sky colour
- -1 EV — Highlights, light fixtures
- 0 EV — Base exposure
- +1 EV — Shadow detail, under-bench areas
- +2 EV — Deep shadows, dark corners
Exteriors usually need fewer — 3 brackets is enough unless you're shooting at twilight.
Camera Settings
- Aperture Priority (Av) — Lock your aperture at f/7.1 to f/9. This keeps depth of field consistent across brackets.
- ISO 320 — Low enough to avoid noise, high enough to keep shutter speeds reasonable.
- Auto Exposure Bracketing (AEB) — Set your camera to fire all brackets in one burst.
- 2-second timer or remote — Eliminates camera shake between brackets.
- Tripod — Non-negotiable. Handheld HDR is a myth for real estate.
The Panasonic LUMIX S5IIX Setup
If you're shooting with the S5IIX (like we do at SLEEEK), here's the exact config:
- Mode: Av, f/8, ISO 320
- Bracket: 5 frames, 1 EV step
- Drive: Burst
- Format: RW2 (raw) — never bracket in JPEG
- Stabilisation: OFF when on tripod
Composition Before You Bracket
HDR won't save a badly composed shot. Before you even think about brackets:
The two-wall rule. Show two walls in every interior shot. It gives depth and makes rooms look larger than straight-on single-wall compositions.
Shoot from doorways. Stand in the doorframe at roughly hip height. This gives the widest possible view and a natural "entering the room" perspective.
Verticals must be vertical. If your vertical lines (door frames, window edges) lean inward, the room looks like it's falling over. Fix this in-camera with a level, not in post.
Include the floor. New photographers tend to angle up. Show the floor — it grounds the image and gives context for room size.
Processing the Brackets
What Software?
The three serious options for real estate HDR:
- Lightroom + Photomatix — Industry standard. Merge in Photomatix, fine-tune in Lightroom.
- Enfuse (via LR/Enfuse plugin) — Free, fast, produces very natural results. Our recommendation for beginners.
- Aurora HDR — Good for twilight shots where you want more punch.
The SLEEEK Processing Pipeline
At SLEEEK, brackets go through an automated pipeline:
- Import — SD card → SLEEEK Express desktop app
- Bracket detection — Groups photos by timestamp (within 2 seconds = one bracket set)
- AI scoring — Each bracket set scored for composition, exposure, sharpness
- HDR merge — Automated via our Railway processing service
- AI enhancement — Colour correction, window pull, vertical straightening
- QC — AI flags issues, editor reviews
- Delivery — Gallery link to agent within hours
The entire pipeline from SD card to delivered gallery takes about 90 minutes for a standard 3-bedroom property.
Common Mistakes
Mistake: Too many brackets. 7+ brackets at 2-stop intervals creates alignment problems and extends merge time. 5 at 1 stop is almost always enough.
Mistake: Moving between brackets. If your tripod shifts even slightly between frames, you'll get ghosting. Use a timer, don't touch the camera.
Mistake: The "HDR look." If your photos look like a video game screenshot, you've gone too far. Real estate HDR should be invisible — the viewer shouldn't notice it's HDR, they should just think "that room looks great."
Mistake: Bracketing everything. Drone aerials, detail shots (taps, handles, letterbox), and some exteriors don't need brackets. A single well-exposed frame is faster and often better.
Getting Started
If you're new to real estate photography, start here:
- Rent or buy a tripod. Seriously. This is step one.
- Set your camera to 3-bracket AEB at 1 EV.
- Shoot 5 rooms in a friend's house.
- Process with LR/Enfuse (free).
- Compare your single-exposure shots to the merged results.
The difference will be obvious. And once you see it, you won't go back to single exposures for interiors.
Have questions about bracket photography or want to join the SLEEEK photographer network? Get in touch.